
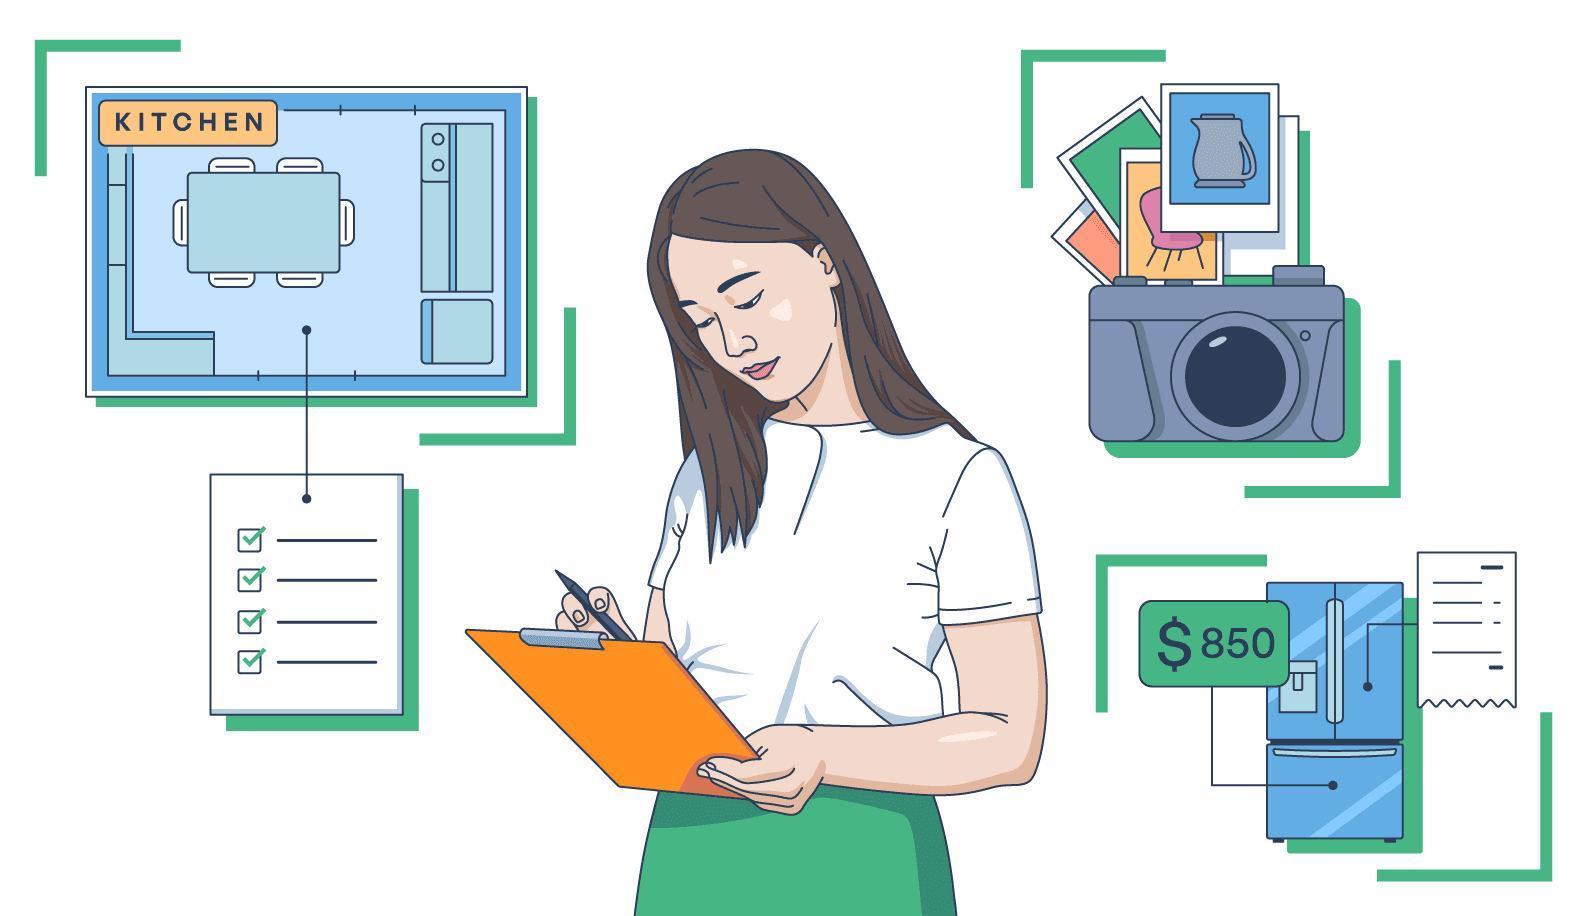
You do not need a perfect spreadsheet. A useful home inventory is a record you can finish, find, and update — one that helps you remember what you own, estimate its value, and support an insurance claim if you ever need to.
This guide walks through what to include, how to work room by room, how to use photos or video, where to keep the result, and how that record fits into a contents claim. Keep the job small enough to start and useful enough to maintain.
Why is it important to create a home inventory?
An organized home inventory helps you remember what you owned, understand what it may be worth, and give your insurer a more complete record if property is lost or damaged.
That record can help after a fire, burglary, storm, or another covered loss. It can also help before loss, when you are deciding whether your personal-property limits and any special coverage still fit what is actually in your home. An inventory supports those conversations; it does not decide coverage or guarantee what an insurer will pay.
Making a list of everything you own can sound miserable. Don't start with everything. Start with one room, one closet, or even one corner. Homeowners, condo owners, and renters can all use the same room-by-room method, although the policy form and property covered will differ.
Here are five reasons a home inventory can help:
- Some valuable possessions may have limits under a standard policy or may need additional coverage. A detailed list gives you something concrete to discuss with your agent or insurer; your policy and endorsements control what is covered.
- Everyday belongings are easy to overlook. Listing them room by room helps you calculate your own total instead of guessing what a “typical” household owns.
- If a loss happens, the record can help you reconstruct what was there and prepare a more complete, accurate submission. It is supporting evidence — not the only possible evidence and not a promise of full payment.
- The same record can make a move, a current-value lookup, or a coverage review easier because the identifying details are already in one place.
- A complete worksheet gives your insurance representative and adjuster organized information to review. For the full process beyond the inventory, use Brelly's property insurance claim guide.
What to include in a home inventory for my insurance policy or insurance claim?
Include enough detail to identify each item, place it in the home, and explain the value you are using. You will not have every field for every possession. Capture what exists and label estimates honestly.
- Sales receipts or other purchase records, when available
- The item's make, model, brand name, and serial number
- Overview photos that show the entire room's contents
- Close photos that identify the item, including labels or model and serial numbers
- The purchase price, current comparable price, or another clearly labeled value estimate
- Extra documentation for high-value items, such as appraisals or detailed photographs
- The purchase date, or your best supported estimate if the exact date is unavailable
- Purchase contracts or account records for items on payment plans
Best Practices for Creating Your Home Inventory
Receipts help, but let's be honest: you may not have one for every shirt, lamp, chair, or kitchen tool you own. Keep and scan the receipts you do have. When you do not have one, combine whatever records survive — photos, videos, manuals, registrations, card or bank records, retailer histories, and current listings for comparable items. A photograph may help support an item when a receipt is unavailable, but one photograph does not automatically prove ownership or value by itself.
Take two kinds of photos. A wide photo says where the item was kept and what else was in the room. A close photo says which item it was by showing its maker, model, serial number, label, condition, or distinctive features. Give valuable items extra attention, including jewelry, art, antiques, electronics, instruments, collections, and higher-value clothing.
Remember property kept away from home, too, such as items in a storage unit or taken on a trip. Inventory it, then check your policy instead of assuming it is covered everywhere. Off-premises coverage, sublimits, business-property rules, and exclusions vary by policy and circumstance.
When should I make an inventory list for my house?

THE BEST TIME IS NOW. A pre-loss inventory is easier to build because the belongings and their identifying details are still in front of you.
The whole house can feel daunting, so treat it like cleaning a room. Start in one corner and keep going. Begin with one small space, such as a closet. Take photos, add the details you already know, and come back for receipts or values later. Work on it for a few minutes on several different days if that is what gets the job finished. The schedule is yours; there is no magic completion time.
If the loss has already happened, you have not missed your only chance. Reconstruct the inventory room by room from memory and surviving records: family photos, email receipts, bank or card statements, manuals, warranty registrations, retailer accounts, cloud photo libraries, and current listings for comparable items. Post-loss reconstruction is harder, but it is not hopeless.
What is the easiest way to make an inventory for home insurance claims?
For many people, photos or video are the smallest first step because the phone is already in their hand. They are not automatically the best method for every person, and a camera roll alone may not carry every detail an insurer requests. Use them as the foundation, then add identifiers, dates, receipts, and values where they matter.
Follow these steps to build a usable photo or video inventory:
- Take overview and detail pictures. Make sure the room is visible, then photograph important items from several sides and capture tags, labels, brand names, model numbers, and serial numbers.
- For video, move slowly and methodically. Narrate the room and important items, then move close enough for the identifying details to be readable.
- Check the phone or camera as you work. Confirm the shot is in focus, the right room or item is visible, and the file actually saved.
- ALWAYS CHECK YOUR WORK. Stop periodically and review what you captured. If the serial number is blurry, you may not be able to read it later.
Let's talk home inventory apps!
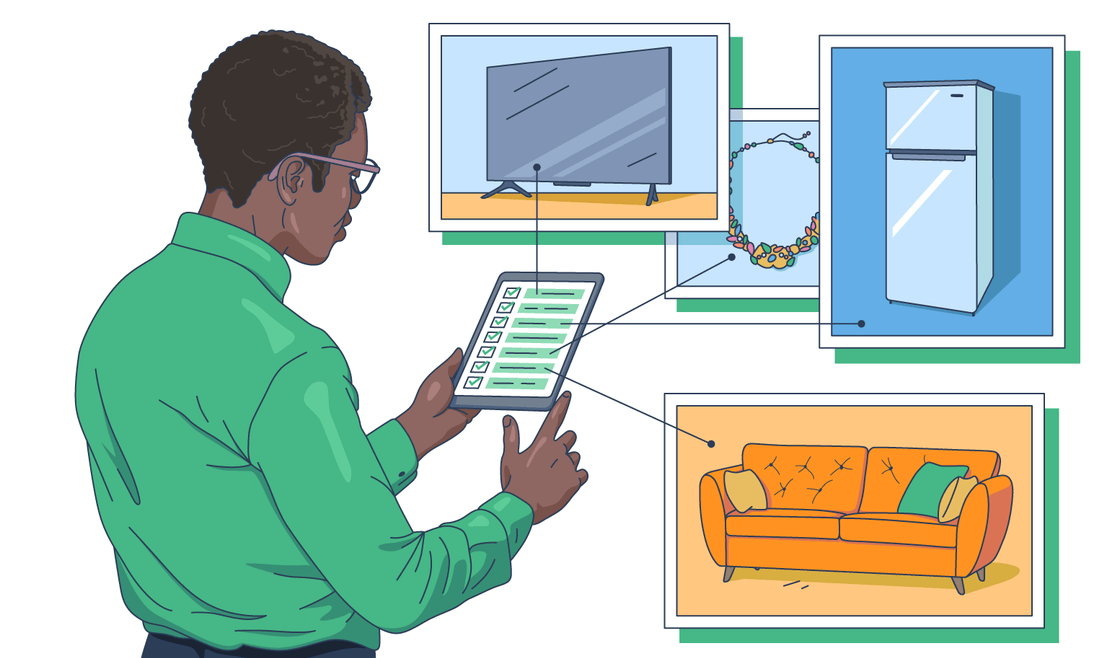
An inventory app can help organize photos, descriptions, receipts, and values, but “has an app” is not enough to make one a good home for your records. Before choosing one, find out where the data is stored, how you sign in, whether you can export a complete copy, who can access it, how backups and account recovery work, and what happens if the product changes or disappears.
An app can become a problem if you cannot get in after a loss, cannot move your records somewhere else, or do not know who can see them. Ask the same questions about a spreadsheet, cloud drive, or other digital system: can you keep a second copy that you control?
Home inventory the “old-school” way
A written list still works. Pen, paper, and a camera can document the same rooms and identifying details without depending on an app. A spreadsheet can make searching and updating easier. Photos and video can capture context quickly. Any of these can help you build a useful record.
Having it done is better than not. Use the approach you can maintain, then solve its weak spots. If the list is on paper, make a duplicate. If it is digital, test the export and recovery process. If it is mostly photos, add enough labels to tell one model, room, or item from another.
Keep your home inventory list safe and accessible
Keep at least one usable copy away from the home or in another independently accessible location. If the only copy is in the same house, the same fire, water, or burglary can take the belongings and the record.
A fire-resistant safe, a safe-deposit box, a trusted relative's home, an encrypted drive, or a reputable online service can each hold one of your copies. None is universally best. A safe-deposit box can protect a copy, but bank hours and access rules make it a poor only copy for something you may need quickly, and its contents are not protected by FDIC deposit insurance. Keep redundant copies and make sure the person who would need the inventory knows how to reach one.
Home inventory lists help find the right homeowners insurance policy.
Your inventory can start the coverage conversation. It cannot finish it.
Add up the belongings you recorded, flag valuable items, and compare that picture with the personal-property coverage shown in your policy. Ask how the policy values damaged property, what limits or sublimits apply, and whether particular valuables need an endorsement or other coverage. Your inventory total does not by itself determine the “right” limit; policy terms, valuation, covered property, exclusions, and endorsements all matter.
Review the inventory at least periodically and after major purchases. Some regulators recommend an annual review, which is a useful calendar prompt, but do not wait for the anniversary to add an expensive new item. Keep the receipt, photos, appraisal, or other records with the inventory while they are easy to find.
The point is not to predict every disaster. It is to know what you have before you need to explain what is gone.
Are my personal belongings worth very much?
The honest answer is: add up your belongings instead of borrowing a national average. The number for somebody else's household cannot tell you what your household owns, what condition it is in, or how your policy values it. Use your own room-by-room record for coverage decisions.

Start with a category scan. Walk the home and look for the places where many ordinary items quietly add up.
Home Furnishings: Include sofas, tables, chairs, beds, desks, lamps, rugs, window coverings, shelving, and decor. Record the room, material, approximate age, condition, and any maker or model information that would distinguish one item from another.
White goods: Capture refrigerators, freezers, washers, dryers, dishwashers, and other major appliances. Photograph the full appliance and the model and serial label.
Home and Garden tools: Check the garage, shed, workshop, closets, and yard storage. Hand tools, power tools, lawn equipment, ladders, outdoor furniture, and seasonal equipment are easy to miss when you only photograph living spaces.
Kitchen and Cookware: Open the cabinets and drawers. Count cookware, bakeware, utensils, small appliances, dinnerware, glassware, and specialty tools. For a current estimate, find a comparable item and save the date and basis for the price you used.
Toys: If children live in the home, include toys, games, books, electronics, clothing, school items, sports gear, and activity equipment. The job is to capture what your household owns, not to force it into an average for a family of a particular size.
Wardrobe: Work through closets and dressers by category — professional, casual, formal, seasonal, recreational, shoes, coats, and accessories. Older clothing can still contribute to a covered loss; age may affect valuation, but it is not a reason to leave the item out.
Pro Tip:
If one part of a purchased set is damaged and a replacement will not match, ask how your policy and state rules handle matching or a reasonably uniform appearance. Buying items as a set does not create a nationwide right to replace the complete set.
What is the easiest way to start a home inventory?
The easiest way to start is to make the job time-bound. This six-step challenge gives you a rough starting estimate and reveals categories you forgot. It is not an appraisal, an actual-cash-value calculation, or proof that your current limit is adequate.
- Set a timer for 30 minutes and grab a notebook, a sheet of paper, or the inventory tool you have chosen.
- Go room by room and write down every item you consider valuable or that would cost money to replace.
- Assign a rough estimate to each item, and label it as an estimate rather than a settled value.
- When the timer ends, take a break and research comparable current items on sites such as Amazon, eBay, and Wayfair. Save the date and the comparison you used; a marketplace listing is a research lead, not price authority by itself.
- Compare your estimates with current comparable prices and any receipts or other purchase records you have.
- After you have gone through the rooms, add the estimates to see your starting total, then discuss the assumptions and property coverages in your homeowner's policy with your agent or insurer.
5 things to know when making a contents claim on your homeowners insurance
Every insurer and policy can handle a contents claim differently, but the general sequence often includes notice, documentation, a possible inspection, evaluation, and policy-governed payment. This is orientation, not a substitute for your policy or your insurer's written instructions.
- Notification: Notify the insurer promptly using a channel it accepts, such as phone, an online portal, an app, or an agent. Keep the date, the person or system contacted, the claim number if one is assigned, and the next requested step. The assignment and timing of an adjuster can vary.
- Documentation: The insurer may request an itemized inventory, photos, receipts, estimates, or a formal Proof of Loss. For theft, report the crime to law enforcement when appropriate and follow the policy and insurer's instructions; do not assume every claim requires the same police document. If the loss destroyed your records, reconstruct them from the credible sources still available.
- Inspection: Depending on the loss, an adjuster may inspect the home or request more photographs, records, or access to damaged property. Safety, access, and the type of loss can change how that review happens.
- Evaluation: The insurer reviews the information, policy, cause of loss, valuation method, limits, deductible, and other applicable terms. If the scope or amount does not make sense, ask for the decision and calculation in writing rather than treating one number as unreviewable.
- Payment: A covered contents claim may involve a deductible, applicable limits or sublimits, actual-cash-value or replacement-cost terms, conditions, partial or staged payments, and disputed or undisputed amounts. The exact path comes from the policy and the facts of the loss — not a universal “approved amount minus the deductible” formula.
Pro Tip:
Know the limits and sublimits that apply to personal property and particular categories. A limit caps what the policy pays subject to its terms; it does not promise that every item or cause of loss is covered. Use the inventory to ask whether your current coverage still fits what you own.
Avoid these inventory mistakes when preparing a contents claim
Your insurer still has investigation and claim-handling responsibilities. You still need to check the inventory yourself. Do not expect someone else to remember every item, locate every record, or correct every omission for you. Work room by room and check the final list against the photos.
- Leaving out recent purchases
- Skipping the itemized contents of kitchen cabinets and drawers, including utensils, pots, pans, dishes, glassware, and small appliances
- Omitting older possessions because you assume age means they have no value or coverage
- Missing major appliances, musical instruments, TVs, game consoles, jewelry, and other higher-value items
- Forgetting purchase dates, age, condition, or the value basis you used; do not invent an actual cash value if you do not know the policy's method
- Forgetting property kept off-site, including storage units, while still checking the policy's off-premises terms
- Missing an entire room, closet, garage, shed, attic, or other storage area
- Grouping important individual items, such as jewelry, into a vague total that cannot identify what was there
Wrapping things up
Start small, but finish the record.
Work room by room. Capture the wide view and the identifying detail. Keep receipts when you have them, use other credible records when you do not, and store more than one copy where the same loss cannot take them all. Review the inventory as your home changes.
I hope you never need it for a claim. If you do, the inventory will not decide coverage or guarantee payment — but it can give you a far better starting point for remembering, organizing, and supporting what was lost.
